You have no items in your cart. Want to get some nice things?
Go shopping
In Charlotte Mason’s schools her students did map drills and map making as a large part of their geography lessons. But before children can begin map drills they need to understand how a map works as well as basic geography terms. They need the concrete knowledge before the abstract.
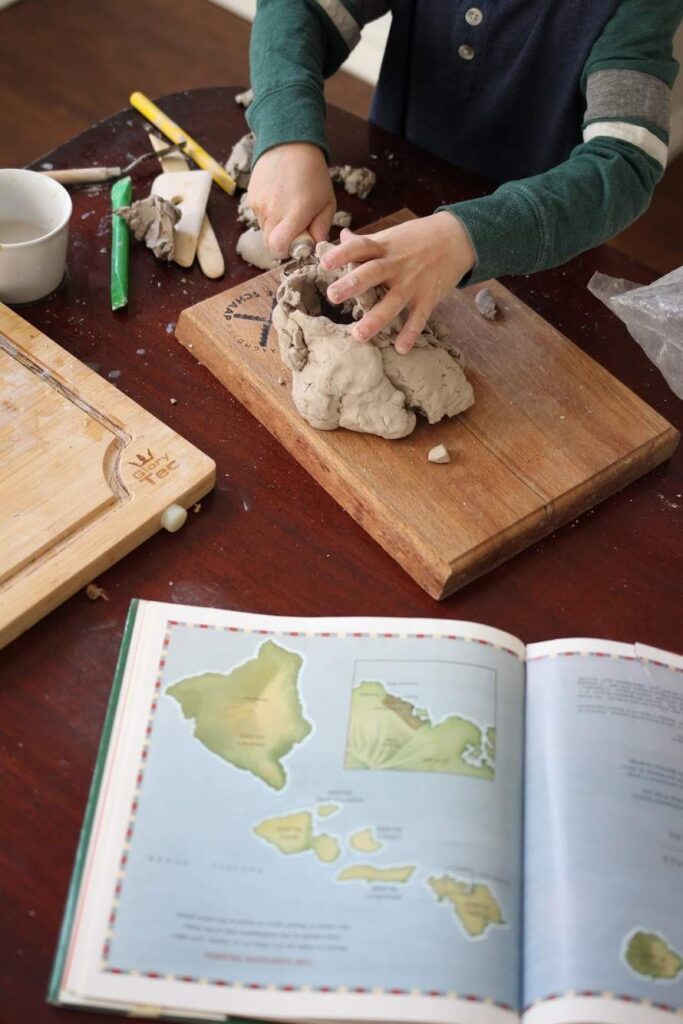
My favorite way to introduce them to these terms concretely is by 1) visiting “mini” examples of these landmarks in real life–creeks are small rivers, hills are small mountains–to understand real life geography and 2) making concrete examples of these land forms with clay and watercolor.
During year one we visit mini geographical features in our area, looking at lakes, ponds, peninsulas, islands, creeks, etc. During the second year we begin making models in the sand or with clay. When we’re at the beach (or if you’re lucky enough to have a sandbox) I invite my children to make a lake, an island, a and a river.
The last step is to make their own land/water forms with watercolors. In Montessori schools students match the land form to the opposite water form. E.g. a lake card is matched to an island card, a bay is matched to a peninsula. Instead of purchasing premade cards for my kids to use, I have them make their own with watercolor paper and watercolors. I simply cut an 8.5×11 watercolor paper into fourths, then the child draws (in pencil) the shape of the land and water forms. Finally, we mix a big batch of green and blue for them to color in the shapes.
I try to review this cards every term to keep the ideas fresh in their memory. It will help them immensely when they begin map drills in form 2!